(Updated May 2025)
A Complete Guide for Homeowners and Property Managers
Whether you’re planning a brand-new driveway, a parking lot upgrade, or simply want to understand what goes into professional paving, it’s helpful to know what the asphalt paving process really involves. While it may look like a few machines laying blacktop, there’s far more happening beneath the surface.
This guide walks you through every step in a typical asphalt paving project and answers the most common questions about what to expect, why it matters, and what you should look for in a professional contractor.
What Is Asphalt Paving?
 Asphalt paving is the process of installing a durable, weather-resistant road, driveways, paths, and so on using a mixture of asphalt binder, small aggregate (like crushed stone), and sand. The goal is to create a pavement surface that can withstand daily use, water exposure, and traffic loads for years.
Asphalt is popular due to its affordability, quick installation, and long-term durability.
Step-by-Step: The Asphalt Paving Process
1. Site Prep and Removal of the Existing Surface
Every successful paving project starts with a clean slate. Whether you’re replacing old asphalt or concrete, the existing surface must be demolished and removed.
- Heavy machinery removes old material
- Recycled asphalt is often reused in future mixes
- Oil and grease spots must be cleaned for proper bonding
This stage ensures the new asphalt layer has a solid foundation to rest on.
2. Grading for Proper Water Drainage
Grading isn’t just about making things level—it’s about protecting your pavement from future damage. Without proper slope, standing water can penetrate and weaken the surface.
- Surfaces are graded using laser-guided equipment
- Optimal slope is 2% (2 inches per 10 feet)
- Prevents pooling and pothole formation
Ensuring proper grading is especially important in the Pacific Northwest, where heavy rainfall is common.
3. Sub-Base Installation and Compaction
The sub-base is the unsung hero of any asphalt surface. It provides load support and acts as a frost barrier.
- Typically consists of compacted crushed rock or recycled asphalt
- Helps prevent cracking from freeze-thaw cycles
- Proper compaction ensures long-term stability
4. Binder Layer (Optional but Important)
In higher-traffic areas like parking lots, a binder course may be added between the sub-base and surface layer.
- Made from coarse aggregate and asphalt
- Provides additional structural strength
- Helps handle heavier traffic volume and loads
Not all driveways need this layer, but it adds longevity in commercial settings.
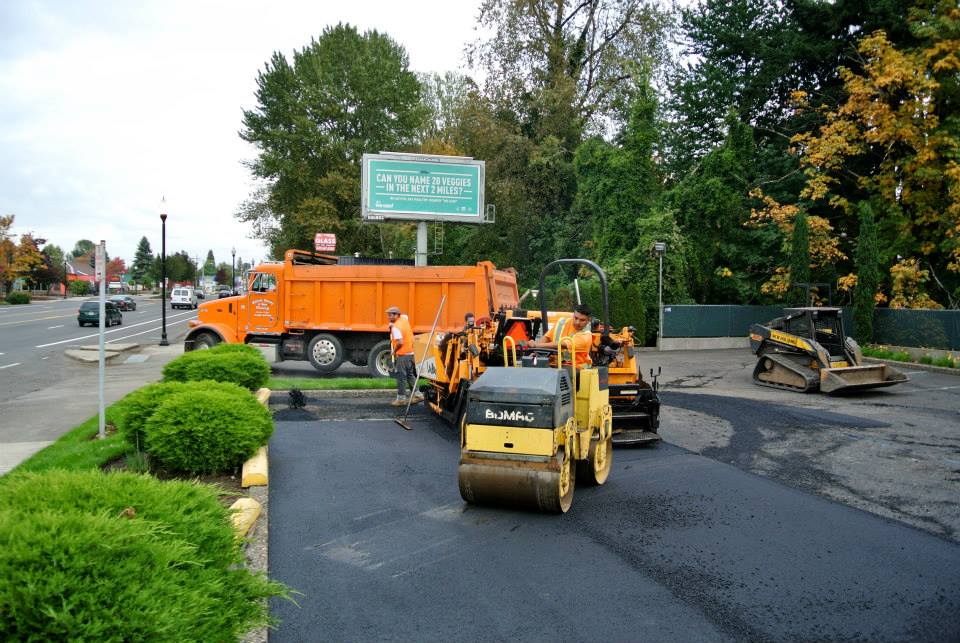
5. Installing the Asphalt Surface Course
 Now comes the visible part: the top asphalt layer. This mix of hot asphalt, sand, and small aggregate is usually produced at an asphalt plant and delivered at about 300°F.
- Smooth, black finish made with smaller aggregates for appearance
- Applied evenly for consistent thickness
- Quickly compacted before cooling begins
This layer must be installed and compacted while still hot to ensure proper bonding.
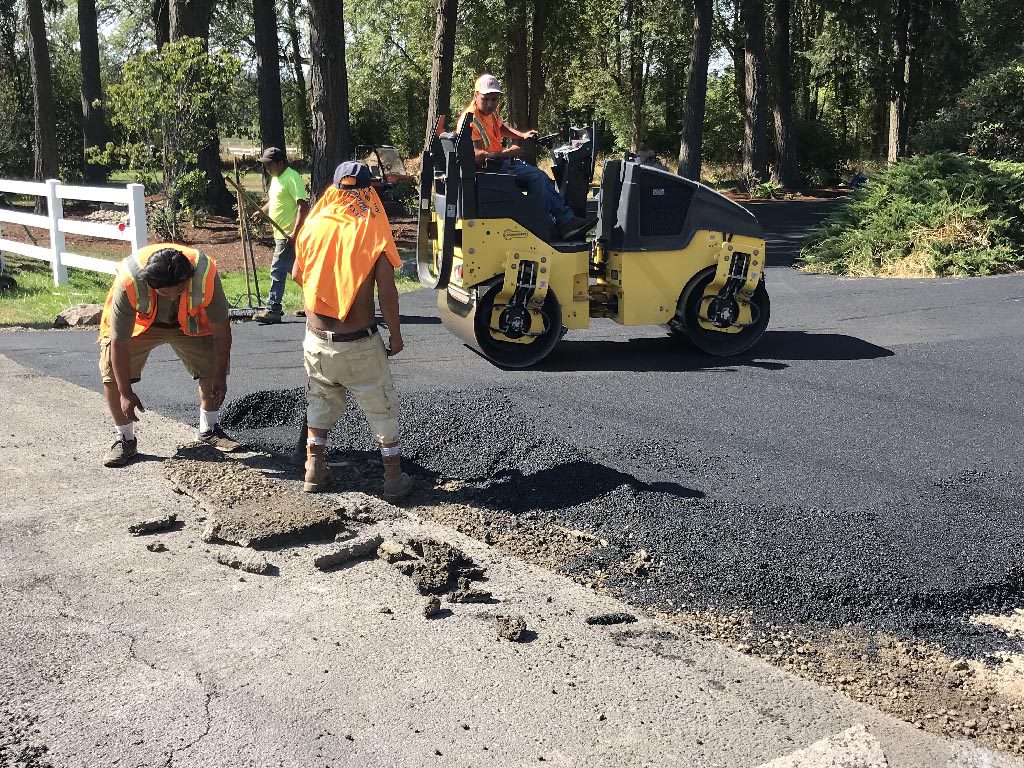
6. Transitions and Edge Work
If your new pavement touches existing surfaces like sidewalks or neighboring driveways, proper transitions are crucial.
- Edges are smoothed to avoid trip hazards or sharp drop-offs
- A tack coat (thin asphalt emulsion) may be used to bond old and new asphalt
- Seamless integration preserves appearance and prevents future cracking
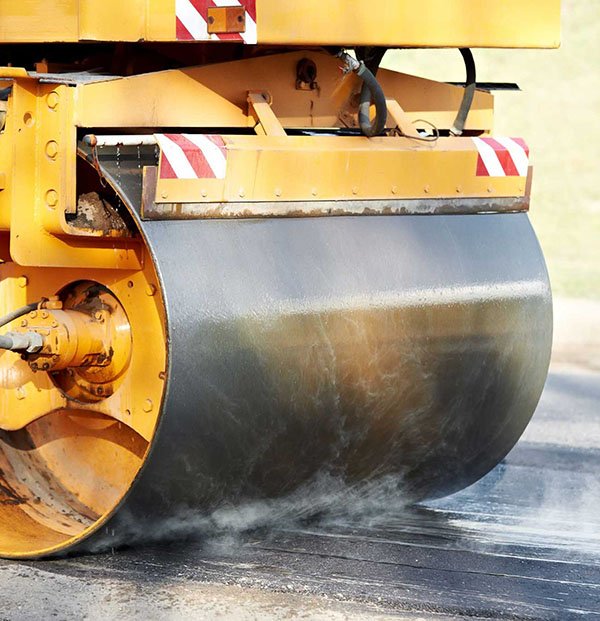
7. Final Compaction
After the surface is laid, a heavy roller makes final passes to ensure proper compaction.
- Eliminates bumps, air pockets, and surface irregularities
- Ensures structural integrity
- Helps bind all asphalt layers into one durable unit
Why Compaction Is Critical
Compaction might be the most important step in the paving process. Without it, air gaps can form that allow water to seep in, weakening the asphalt from within.
- Proper compaction prevents settling and rutting
- Ensures layers bond correctly
- Reduces long-term maintenance needs
If you want smooth, long-lasting pavement, this is a step that should never be rushed.
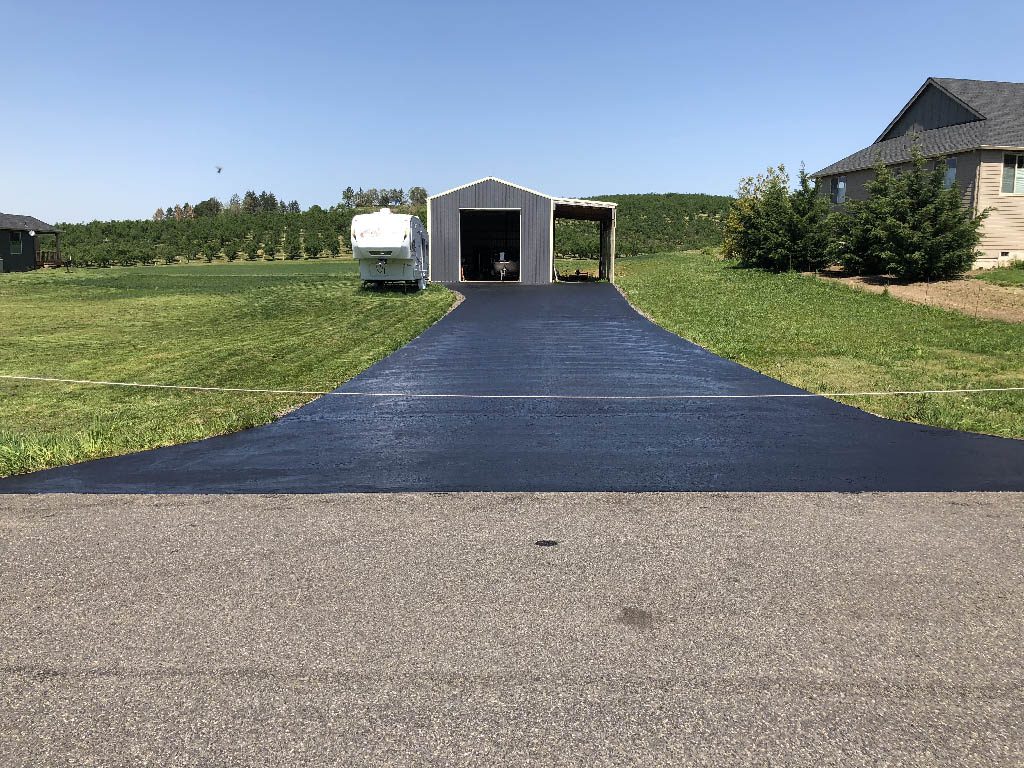
Should You Sealcoat New Asphalt?
Sealcoating isn’t part of the asphalt pavement installation process, but it’s one of the best ways to protect your new asphalt surface long-term. Applying a sealcoat helps shield the pavement from UV damage, oil stains, and water intrusion. While fresh asphalt needs to cure for at least 90 days (and sometimes up to six months) before it can be sealed, adding this protective layer can significantly extend the life of your driveway or parking lot and delay costly repairs.
 How Long Does the Asphalt Paving Process Take?
 How Long Does the Asphalt Paving Process Take?
Most residential paving projects can be completed in one to two days, depending on the size and condition of the site. Commercial projects, like large parking lots, may take longer due to added steps like binder layers or extensive grading.
Weather and scheduling with the asphalt plant can also affect timing.
Can I Pave My Own Driveway?
Technically, yes. Practically? Not recommended.
Asphalt paving requires specialized equipment, experience with grading and compaction, and access to hot mix asphalt from a local plant. Mistakes in base prep, compaction, or water drainage can lead to costly issues down the line.
Hiring an experienced asphalt paving contractor ensures the job is done right the first time.
What Affects the Cost of Asphalt Paving?
Paving costs vary based on:
- Size of the area to be paved
- Type and condition of existing surface
- Need for grading or additional base prep
- Distance from the asphalt plant (delivery fees)
- Expected traffic volume and load-bearing needs
While asphalt is more affordable than many other surfaces, the best value comes from a durable installation that lasts for decades.
FAQs: Asphalt Paving Process Questions Answered
- What is recycled asphalt, and is it used in new paving projects?
Recycled asphalt (also known as RAP) is often incorporated into new mixes. It reduces environmental impact while maintaining strength and performance. - How long should I wait before using my new asphalt surface?
You can walk on it after 24 hours, but vehicles should wait at least 48–72 hours. Full curing may take weeks, so avoid heavy vehicles early on. - How thick should asphalt be for a driveway or parking lot?
Driveways typically use 2–3 inches of asphalt, while commercial parking lots may use 4 inches or more, sometimes with a binder layer underneath. - What causes asphalt to crack or form potholes?
Poor water drainage, inadequate base compaction, and freeze-thaw cycles are leading causes. A properly paved surface resists all three. - Does asphalt paving work in rainy climates like Portland?
Yes—if it’s done right. Grading, compaction, and drainage are especially important in wet regions. High-quality materials and proper slope are key.
Choose the Right Contractor for the Job
The asphalt paving process may be technical, but it doesn’t have to be stressful. With the right team on your side, your new pavement can look great, function well, and last for years.
William Stanley & Sons Paving brings over 30 years of hands-on, generational experience to every residential and commercial project in the Portland area. From driveways to high-traffic parking lots, we know how to get the job done right—efficiently, affordably, and professionally.
Let’s talk about your next asphalt paving project.